
Cheesy Baked Corn Sandwich
This cheesy baked corn sandwich uses a golden corn-and-cheese crust instead of traditional bread, then layers it with arugula, roasted red peppers, optional ham, and a creamy yogurt-mayo sauce. It's a fun, satisfying lunch or snack with plenty of texture and flavor.


The first thing that makes this cheesy baked corn sandwich different is that there is no traditional bread holding everything together. Instead, sweet corn and melted cheese bake into a golden, flexible base that becomes the outside of the sandwich. Once it cools enough to hold its shape, I fill it with fresh greens, roasted red peppers, optional ham, and a creamy yogurt-mayo sauce. I love recipes that take a familiar ingredient and use it in a completely different way, and this is one of those recipes. Corn usually ends up inside a sandwich or salad, but here it becomes the sandwich itself. Baking it with cheese gives the edges a caramelized, slightly crisp texture while the center stays softer and cheesy. There are two steps I wouldn't rush with this recipe. First, drain the corn really well. Excess liquid makes it harder for the base to become firm in the oven. Second, give the baked corn and cheese time to cool before trying to lift or fold it. Straight from the oven the cheese is still very soft, but after 10–15 minutes it becomes much easier to handle. The filling is intentionally fresh to balance the richness of the baked cheese. I like arugula for a peppery bite and roasted red peppers for sweetness, while the yogurt-mayonnaise sauce adds creaminess without needing a complicated dressing. Ham is optional, so the sandwich is easy to adapt depending on what you have at home. It's a fun option when you want something more interesting than an ordinary sandwich, and it works especially well for lunch, brunch, or a filling afternoon snack.
Watch the Recipe

The video will only load after you press play.
How to Make Cheesy Baked Corn Sandwich
Drain the Corn Thoroughly
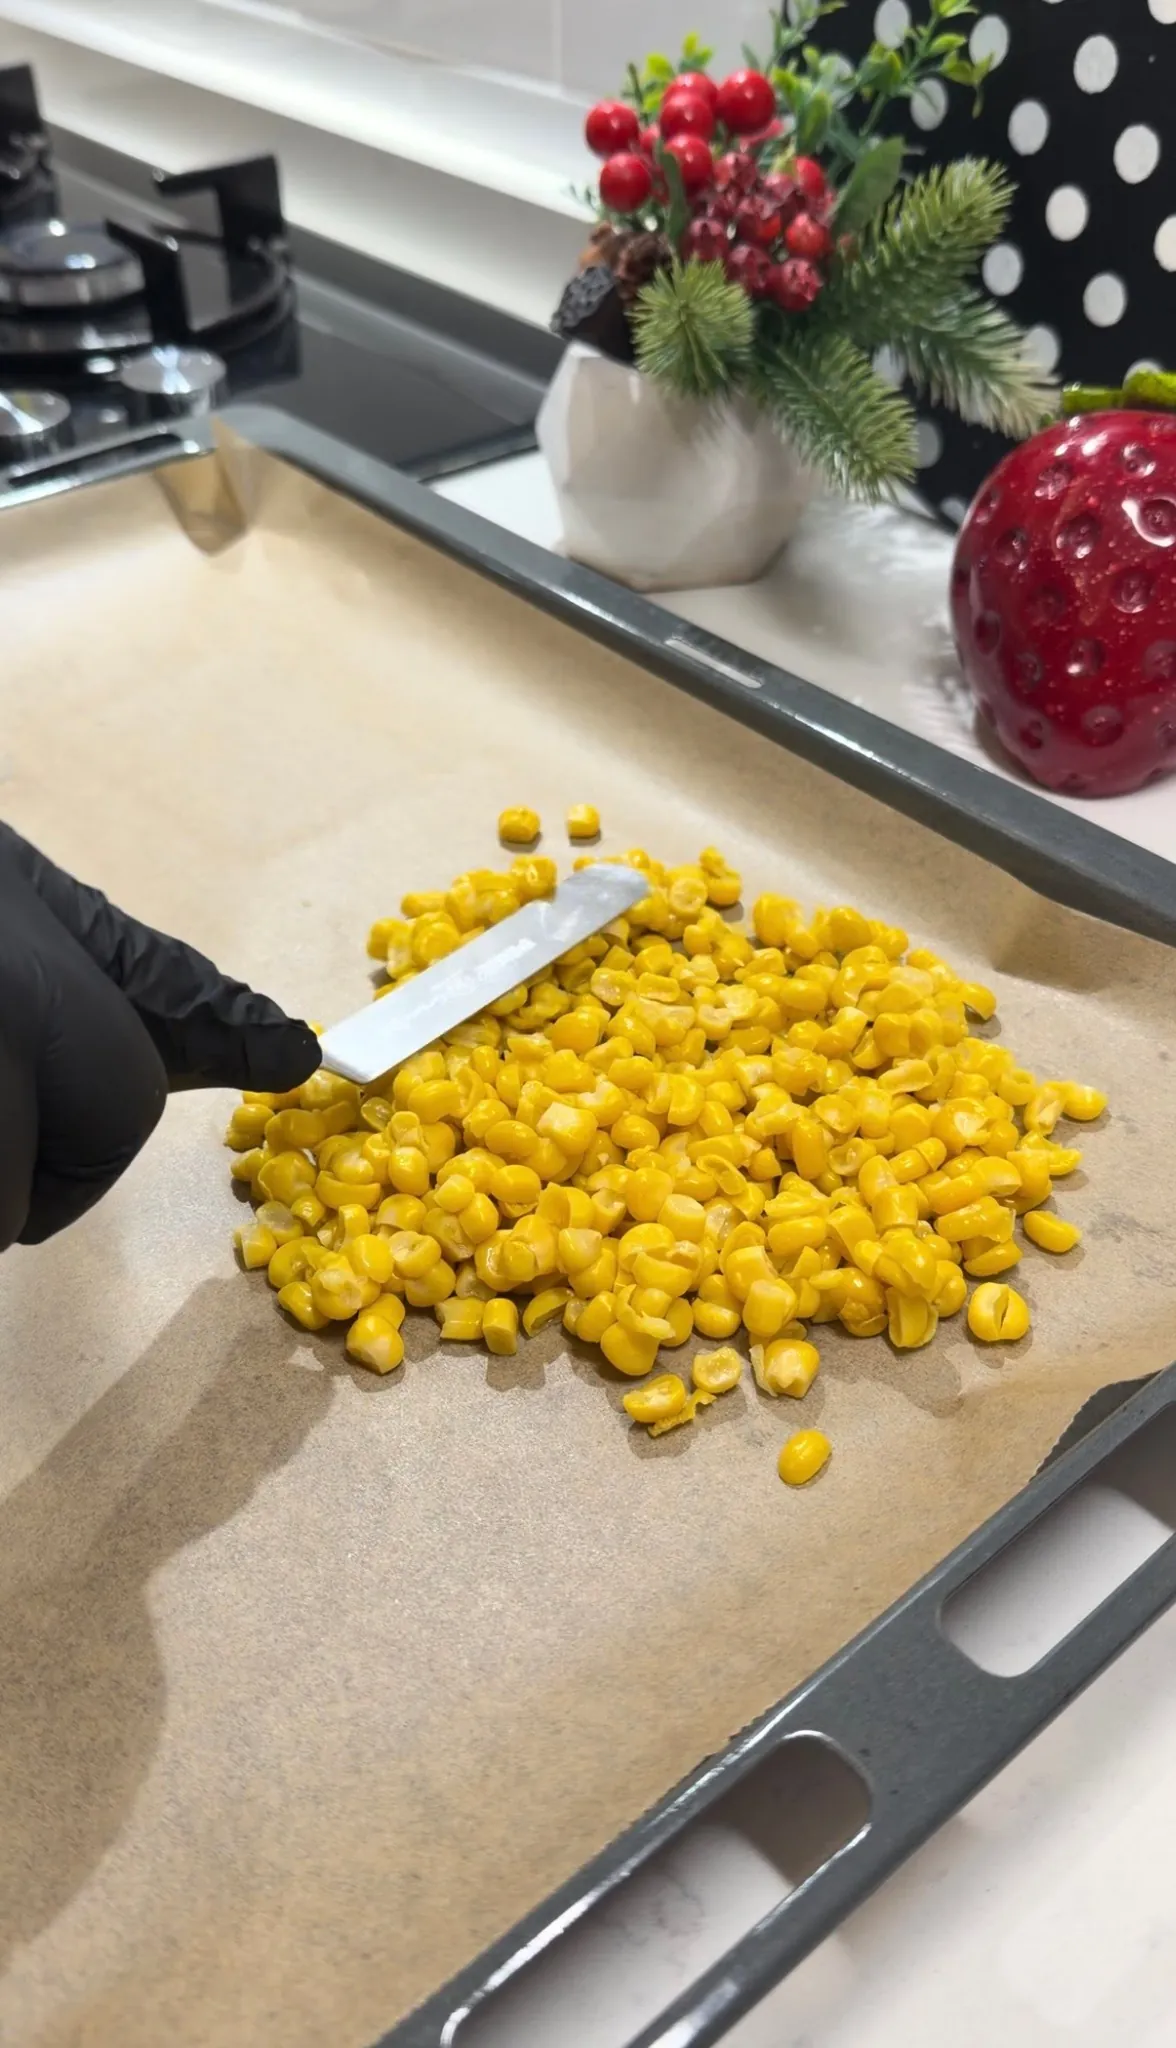
Drain the sweet corn very well and remove as much excess liquid as possible. This step matters because too much moisture can keep the baked corn base from becoming firm enough to slice and use as a sandwich.
Form the Corn Bases
Preheat the oven to 220°C (430°F). Line a baking tray with parchment paper, then spread the drained corn into even round or rectangular portions. Press the kernels together so the finished bases hold their shape more easily.
Add the Cheese
Cover the corn generously with grated kashar cheese or mozzarella. Spread the cheese evenly so it melts between the corn kernels and helps bind the base together while baking.
Bake Until Golden
Bake for about 20 minutes, or until the cheese is completely melted and the edges of the corn base are deeply golden. The surface should look browned and the base should feel more structured than when it first went into the oven.
Let the Base Cool
Remove the tray from the oven and let the corn-and-cheese bases cool for about 10–15 minutes. Don't skip this resting time. The melted cheese firms slightly as it cools, making the base much easier to lift, cut, and fill without breaking.
Make the Creamy Sauce
While the corn base cools, combine the mayonnaise, yogurt, red pepper flakes, finely chopped green onion, and honey in a small bowl. Stir until smooth and evenly mixed.
Add the Fillings
Carefully lift or cut the cooled corn bases into sandwich-sized portions. Spread some of the creamy sauce over the surface, then layer with arugula, sliced roasted red peppers, and ham if using.
Assemble and Serve
Top with another corn-and-cheese portion or fold the base over the filling to create a sandwich. Serve while the corn crust is still slightly warm and the vegetables are fresh.

Why This Corn Sandwich Holds Together
The melted cheese does more than add flavor in this recipe — it also acts as the binder for the corn kernels. As the cheese melts and browns in the oven, it connects the kernels into a flexible crust that can be lifted and used like bread.
Cooling is part of the method rather than an optional waiting period. Hot melted cheese is too soft to support the filling, but once it rests for several minutes it becomes firm enough to handle while remaining tender rather than hard.
How to Keep the Corn Base from Falling Apart
Start with well-drained corn and avoid leaving excess liquid in the kernels. Spread the corn into a fairly compact layer rather than scattering it loosely across the baking tray, then cover it evenly with a good melting cheese.
Bake until the edges are clearly golden and give the finished base enough time to cool before moving it. If you try to lift it immediately after baking, the cheese may stretch instead of holding the corn together.
Why You'll Love This Recipe
- Uses corn and cheese instead of a traditional bread base
- Golden and cheesy outside with fresh fillings inside
- A creative way to turn pantry staples into a complete meal
- Easy to customize with different vegetables and proteins
- Works for lunch, brunch, or a filling snack
- The creamy sauce adds sweet, tangy, and slightly spicy flavor
Tips for the Best Baked Corn Sandwich
- Drain the canned corn thoroughly before spreading it on the baking tray.
- Press the corn into a compact layer so the kernels stay close together.
- Use kashar, mozzarella, or another cheese that melts and browns well.
- Bake until the edges are visibly golden instead of removing the base while it is still pale.
- Bake until the edges are visibly golden instead of removing the base while it is still pale.
- Add the arugula only after baking so it stays fresh rather than wilting.
- Add the arugula only after baking so it stays fresh rather than wilting.
Filling Variations
- Skip the ham for a simple meat-free version.
- Add sliced pickles for a sharper, tangier contrast.
- Replace arugula with baby spinach or mixed greens.
- Use mozzarella for a milder flavor or cheddar for a stronger cheese taste.
- Add chili sauce or extra red pepper flakes for a spicier sandwich.
- Add sliced avocado after baking for extra creaminess.
What to Serve with a Corn Sandwich
This sandwich is already rich from the cheese and creamy sauce, so I like serving it with something fresh and simple. A tomato and cucumber salad, crunchy raw vegetables, or a small green salad all work well.
For a more filling lunch, serve it with soup or roasted vegetables. If you're making the sandwich for brunch, fresh fruit on the side gives a nice contrast to the salty cheese and sweet corn.
Storage and Reheating
This cheesy corn sandwich is best assembled and eaten fresh, especially once the arugula and sauce have been added. If you need to prepare it ahead, I recommend storing the baked corn-and-cheese base separately from the sauce and fresh fillings.
According to the original recipe, leftovers can be refrigerated for up to 1 day. Reheat only the corn base in the oven or air fryer until warmed through, then add the cold sauce, greens, and roasted peppers just before serving.
Cheesy Baked Corn Sandwich
This cheesy baked corn sandwich uses a golden corn-and-cheese crust instead of traditional bread, then layers it with arugula, roasted red peppers, optional ham, and a creamy yogurt-mayo sauce. It's a fun, satisfying lunch or snack with plenty of texture and flavor.